
Table of content
- What is the Dexcom G7 and Why Placement Matters?
- Why Choose Abdomen Placement for Dexcom G7?
- How to Place Dexcom G7 on Your Abdomen
- Tips for Successful Dexcom G7 Abdomen Placement
- What Problems Can Occur with Dexcom G7 Abdomen Placement?
- Where Else Can You Place Dexcom G7 Besides the Abdomen?
- Conclusion
- Frequently Asked Questions
Are you managing diabetes with a continuous glucose monitor (CGM) like the Dexcom G7? If so, understanding the best placement options can make a world of difference in accuracy, comfort, and overall diabetes management. In this comprehensive guide, we’ll dive deep into Dexcom G7 abdomen placement – why it’s a top choice, how to do it correctly, tips for success, and more. Whether you’re new to CGMs or looking to optimize your setup, this post covers everything you need to know about Dexcom G7 sensor placement on the abdomen.
By the end of this article, you’ll have expert insights on Dexcom G7 abdomen placement, ensuring you get the most reliable glucose readings for effective diabetes management. Let’s get started!
What is the Dexcom G7 and Why Placement Matters?
The Dexcom G7 is a cutting-edge continuous glucose monitoring system designed for people with diabetes. It provides real-time glucose data, trends, and alerts to help users make informed decisions about insulin dosing, diet, and lifestyle. Unlike traditional fingerstick tests, the G7 offers seamless, 24/7 monitoring with a small sensor that measures interstitial glucose levels.
Placement of the Dexcom G7 sensor is crucial because it directly impacts sensor accuracy, adhesion, and user comfort. The abdomen is one of the most recommended sites for insertion, thanks to its fatty tissue, which allows for stable readings and minimal interference from movement. Proper Dexcom G7 abdomen placement ensures the sensor stays secure for up to 30 days, minimizing errors and discomfort in your CGM placement strategy.
Key Features of Dexcom G7
- Real-Time Data: Transmits glucose levels every minute for precise diabetes management.
- Water-Resistant: Safe for swimming, showering, and light activities, ideal for active users.
- Compact Design: Smaller than previous models, making it discreet for abdomen CGM placement.
- App Integration: Syncs with the Dexcom app for easy tracking of glucose trends.
Now, let’s explore why the abdomen stands out as the ideal spot for Dexcom G7 sensor placement.
Why Choose Abdomen Placement for Dexcom G7?
The abdomen is the gold standard for Dexcom G7 abdomen placement for several reasons. It’s not just about convenience – it’s backed by clinical recommendations and user experiences. Here’s why Dexcom G7 sensor placement on the abdomen is preferred:
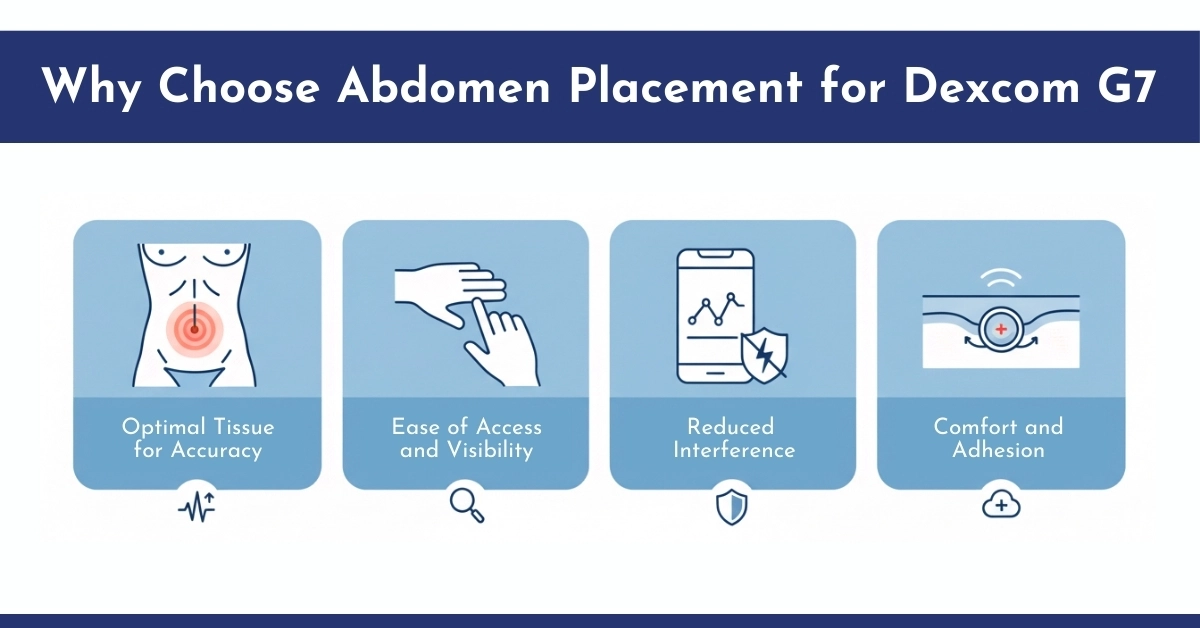
1. Optimal Tissue for Accuracy
The abdominal area has a good layer of subcutaneous fat, which provides consistent glucose readings. This reduces variability compared to other sites like the arms or legs, where muscle movement or thinner skin can cause fluctuations in CGM accuracy.
2. Ease of Access and Visibility
Placing the sensor on your abdomen makes it easy to check and change. It’s less likely to be irritated by clothing or accessories, and you can monitor it discreetly under loose-fitting tops, enhancing your diabetes management routine.
3. Reduced Interference
Abdomen placement minimizes disruptions from physical activity. For instance, arm placements might shift during workouts, leading to inaccurate data, while the abdomen stays stable for reliable CGM placement tips.
4. Comfort and Adhesion
The skin on the abdomen is generally smoother and less prone to irritation. CGM Monitors’ adhesive patch is designed to stick well here, lasting the full 30-day wear period without frequent replacements, making it a top choice for best place for Dexcom G7.
Studies of PubMed Central and user reviews confirm that Dexcom G7 abdomen placement yields the highest accuracy rates for Dexcom G7, with fewer “signal loss” issues.
Note that Dexcom G7 abdomen placement is not recommended for pregnant women due to potential changes in skin sensitivity and body dynamics during pregnancy. It is recommended to place the sensor on the back of the upper arm. Moreover you can consult your obstetrician or endocrinologist for alternative placement options or device suitability.
How to Place Dexcom G7 on Your Abdomen
Proper insertion is key to avoiding complications like skin irritation or sensor failure. Follow these steps for a successful Dexcom G7 abdomen placement. Remember, practice makes perfect – if you’re new, watch Dexcom’s official tutorial videos for visual guidance on Dexcom G7 sensor placement.
Preparation
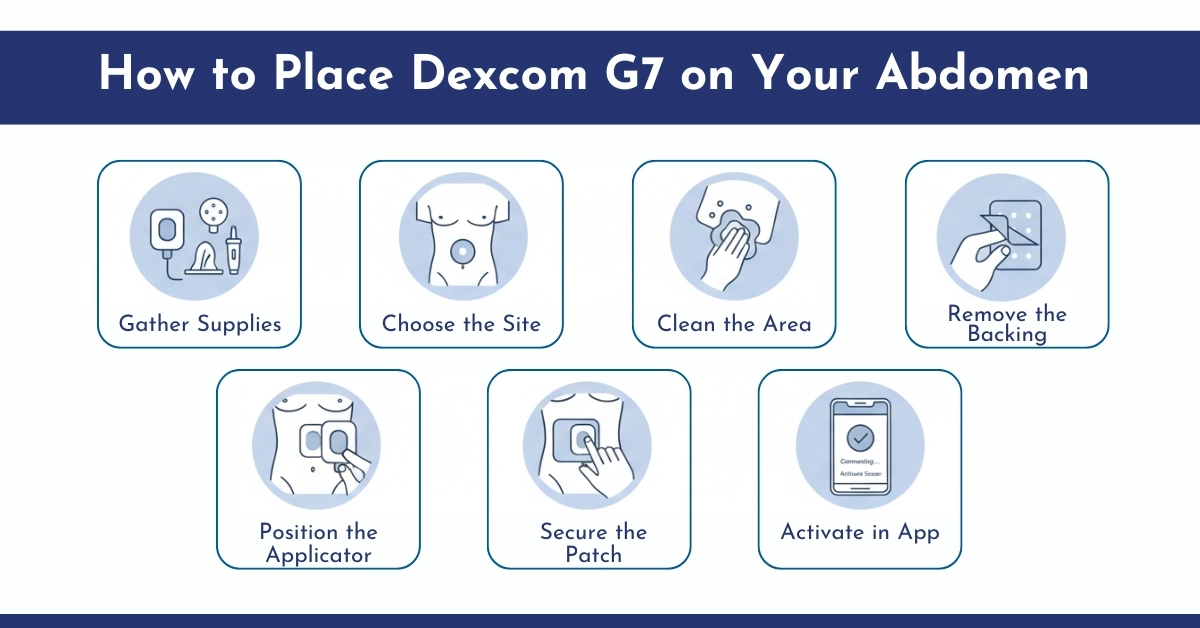
- Gather Supplies: You’ll need the Dexcom G7 sensor (available on CGM Monitors), applicator, transmitter, alcohol swabs, and the Dexcom app on your phone.
- Choose the Site: Select a clean, flat area on your abdomen, about 2-3 inches away from your belly button. Avoid areas with scars, moles, or recent injections. Rotate sites to prevent skin buildup in your CGM placement tips.
- Clean the Area: Wash your hands and the insertion site with soap and water, then swab with an alcohol wipe. Let it dry completely to ensure good adhesion for optimal Dexcom G7 sensor accuracy.
Insertion Process
- Remove the Backing: Peel off the adhesive backing from the sensor patch, exposing the sticky side.
- Position the Applicator: Hold the applicator at a 90-degree angle to your skin. Press the button to insert the sensor needle – you’ll hear a click.
- Secure the Patch: Gently press the adhesive patch down, smoothing out any air bubbles. Ensure the transmitter snaps into place.
- Activate in App: Open the Dexcom app and follow prompts to pair the sensor. It takes about 2 hours for initial calibration in your diabetes management with Dexcom G7.
After Placement
- Wait for Warm-Up: Don’t remove the sensor during the first 2 hours. Avoid swimming or intense exercise initially.
- Monitor for Issues: Check for redness or discomfort. If it feels off, contact your doctor.
This process should take less than 5 minutes once you’re familiar with it. For detailed visuals, check out Dexcom’s official website or YouTube channel on how to place Dexcom G7 on the abdomen.
Tips for Successful Dexcom G7 Abdomen Placement
To maximize the benefits of abdomen placement, incorporate these expert tips for Dexcom G7 sensor placement:
- Site Rotation: Change insertion sites each time to avoid skin irritation. Mark your calendar to track locations in your CGM placement strategy.
- Skin Prep: Use skin prep wipes (like those from Dexcom) for better adhesion, especially if you have dry or oily skin, improving Dexcom G7 sensor accuracy .
- Clothing Choices: Wear breathable fabrics that don’t rub against the sensor. Avoid tight waistbands for comfortable diabetes management.
- Activity Adjustments: For high-impact sports, consider arm placement as an alternative, but stick to abdomen for daily use in abdomen CGM placement benefits.
- Hygiene Maintenance: Shower with the sensor on, but pat dry gently. Avoid hot tubs or saunas.
- Backup Plans: Keep extra sensors handy in case of early failure.
Many users report that following these tips extends sensor life and improves comfort. If you experience frequent dislodging, try Dexcom G7 overpatch (cut and without cut options) for extra security in your Dexcom G7 insertion site routine.
What Problems Can Occur with Dexcom G7 Abdomen Placement?
While abdomen placement is generally reliable, issues can arise. Here’s how to troubleshoot common problems with Dexcom G7 sensor placement:
- Skin Irritation: Caused by adhesives or allergies. Solution: Use hypoallergenic patches or consult a dermatologist for better CGM placement tips.
- Sensor Failure: Early detachment due to poor adhesion. Solution: Ensure skin is dry and clean; apply skin prep for Dexcom G7 sensor accuracy.
- Inaccurate Readings: Fluctuations from movement. Solution: Avoid placing near belts or heavy clothing; recalibrate if needed in diabetes management with Dexcom G7.
- Pain or Bruising: Rare, but possible. Solution: Insert at the correct angle; rotate sites.
- Signal Loss: Interference from electronics. Solution: Keep phone away from the sensor; update app regularly.
Where Else Can You Place Dexcom G7 Besides the Abdomen?
While the abdomen is preferred, other approved sites for G7 sensor placement are;
- Upper Arm: Good for active users; less visible but may require more frequent checks in CGM placement strategy.
- Upper Buttocks: Similar to abdomen; stable but harder to access for abdomen CGM placement benefits.
- Thigh: Avoid if prone to movement; not ideal for accuracy compared to best place for Dexcom G7.
Abdomen remains the top choice for most, but experiment under medical guidance to find what works best for you in real-time glucose monitoring.
Conclusion
Dexcom G7 abdomen placement is a game-changer for accurate, hassle-free glucose monitoring. By following the steps and tips outlined here, you can enjoy reliable data, improved comfort, and peace of mind in your diabetes management with Dexcom G7. Remember, diabetes management is personal – always work with your healthcare team to tailor your approach. Additionally, Dexcom G7 abdomen placement is not recommended for pregnant women; seek professional medical advice for safe alternatives during pregnancy.
Ready to optimize your CGM experience? Start with abdomen placement today and track your progress in the Dexcom app. For more resources, visit CGM Monitors, a trusted retailer of diabetic supplies.
Stay informed, stay healthy!
Disclaimer: This guide is for informational purposes only. Always consult a healthcare professional before making changes to your diabetes management routine.
Frequently Asked Questions
Can the Dexcom G7 be worn anywhere?
No, official sites are back of upper arm (ages 2+) or upper buttocks (ages 2–6); abdomen is approved for adults 18+ in some regions, but thigh or other spots are off-label and may reduce accuracy or cause compression lows. Consult your doctor for alternatives; always prioritize fatty tissue areas.
Where is the best place to put your Dexcom G7 sensor?
The back of the upper arm is Dexcom’s recommended site for optimal accuracy (MARD 8.2%); abdomen is a close second for adults, while thigh is off-label but comfortable for some—choose based on lifestyle and consult your doctor.
Can I go through airport security with a glucose monitor?
Yes, Dexcom G7 is TSA-friendly; wear sensor through detectors, carry receiver/phone separately (no X-ray), and show doctor’s note if needed for visual check. Pack extras in carry-on.
Where on my stomach can I put my Dexcom?
Place the Dexcom G7 on the lower abdomen, at least 2 inches (5 cm) away from the belly button, on soft, fatty tissue; avoid the upper stomach or direct waistline to minimize pressure and ensure signal stability. Rotate sides with each sensor to allow healing.
Can I place my Dexcom G7 on my thigh?
Thigh is off-label but commonly used (upper outer for stability); accuracy may vary with compression lows during sleep/activity—many report good results with overpatch. Doctor approval advised.


Write a comment
Your email address will not be published. All fields are required