Table of content
- Understanding the FreeStyle Libre 3 Plus System
- Check Phone Compatibility First To Connect Libre 3 Plus
- Steps to Connect FreeStyle Libre 3 Plus to Your Phone
- Setting Up Alarms and Sharing Data with Libre 3 App
- Troubleshooting Libre 3 Plus Phone Connection Issues
- Tips for Optimal Use and Maintenance
- Conclusion:
- Frequently Asked Questions
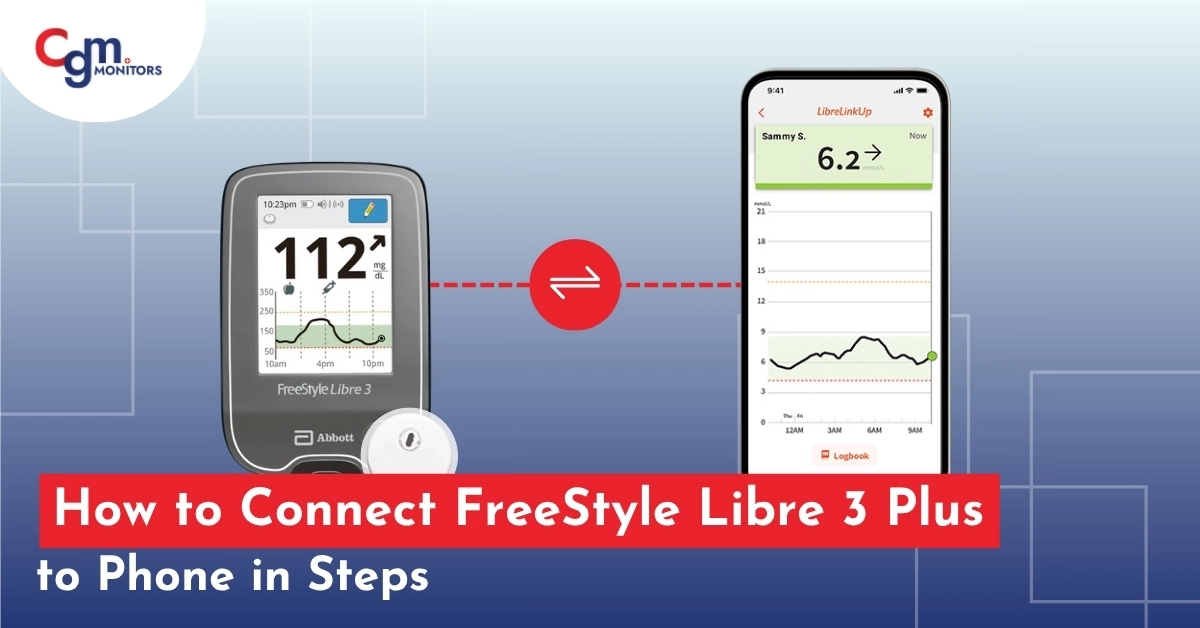
If you’re managing diabetes and just got your hands on the FreeStyle Libre 3 Plus sensor, you’re probably excited to learn how to connect FreeStyle Libre 3 Plus to phone for seamless glucose tracking. After all, nothing beats having real-time insights right in your pocket without constant finger pricks.
In this guide, we’ll walk through everything you need to know about how to connect FreeStyle Libre 3 Plus to your phone, from checking compatibility, setting up the FreeStyle Librelink, to troubleshooting any connection issues that might occur. Whether you’re on an iPhone or Android, this guide is your friendly roadmap to syncing your Libre 3 Plus with your mobile device the right way.
Understanding the FreeStyle Libre 3 Plus System
Before you learn how to connect FreeStyle Libre 3 Plus to your phone, it’s essential to understand how the system works. This sensor offers up to 15 days of wear with real-time glucose readings every minute. It builds on the FreeStyle Libre 3 by adding compatibility with automated insulin delivery systems (AID systems), maintaining compatibility with the FreeStyle LibreLink app.
Note: According to the 2025 ADA recommendations for CGM use improves time in range and reduces A1c variability.
Check Phone Compatibility First To Connect Libre 3 Plus
Connecting your Libre 3 Plus sensor to your phone requires a compatible device. From studies, about 20% of people with diabetes end up using incompatible devices, which can lead to spotty connections or missed alarms.
For iPhone Users
- Requires iOS 15.5 or newer
- Compatible with iPhone 7 and later
- Must support Bluetooth and NFC
For Android Users
- Requires Android 8.0+
- Must support NFC (for initial scan) and Bluetooth (for ongoing data)
- Samsung Galaxy phones and watches work best, while budget devices may lag
Pro tip: If your phone isn’t listed but still functions, you might see more frequent signal loss alerts, so keep an eye on that.
If your device doesn’t cut, consider upgrading or using the dedicated FreeStyle Libre 3 reader, available through CGM Monitors, as a reliable backup.
Steps to Connect FreeStyle Libre 3 Plus to Your Phone
1. Download and Set up the FreeStyle Libre 3 app
Ready to link Libre 3 Plus to iPhone or Android? Start with the app—it’s your command centre.
- Go to App Store (iOS) or Google Play Store (Android), find FreeStyle Libre 3 app, and install it.
- Open the app and create or log in to your LibreView account.
- Give the app all required permissions (Bluetooth, location, background refresh, notifications)
- Ensure Bluetooth is turned ON on your phone, and that no “aeroplane mode” or power saving mode is blocking connectivity.
- If you’re on Android, double-check NFC is turned on in your settings, mostly found under “Connections” or “Wireless & Networks.”
Note: The app’s interface is intuitive, with a home screen showing your current glucose, graph, and notes section. Take a moment to familiarise yourself; it’s like having a diabetes coach in your phone.
2. Apply the FreeStyle Libre 3 Plus Sensor Properly
Before you can pair the FreeStyle Libre 3 Plus sensor with the app, the sensor needs to be on your body. This isn’t just about sticking it; proper application ensures a reliable Bluetooth connection.
- Apply the sensor to your skin as per instructions, usually the back of your upper arm.
- Wait for the warm-up period (~60 minutes). During this time, the sensor is not yet active.
- After the warm-up, you will get a notification is the sensor is ready
If you’re active, use an over-bandage like Tegaderm from day one to keep it secure for the full 15 days. And yes, it’s water-resistant; feel free to shower, but be sure to pat it dry gently.
3. Steps to Pair FreeStyle Libre 3 Plus with Your Phone
For both iPhone and Android:
- In the Libre 3 app, choose “Start” or “Activate Sensor” (the exact wording may differ).
- Allow the app to scan or detect nearby sensors.
- When it finds your Libre 3 Plus sensor, tap Connect / Pair.
- A countdown timer (usually 60 minutes) begins as the app and sensor establish a connection.
- Wait until the connection is established.
If it fails early in the countdown, check sensor placement (is it loose?)
If it times out, you may retry pairing.
Some users report getting a beep or error at minute ~10 (“check if sensor is loose”). - Once connected, the app should start showing glucose values, trend graphs, and real-time alerts.
Pro tip: Rebooting your phone or turning Bluetooth off and on mid-pairing sometimes helps in stubborn cases. Users have reported that doing so resolved connection failures.
4. Verify Connection and Data Upload
- After pairing, verify that readings appear in the timeline of your Libre 3 app.
- Go to Settings > Connected Apps > Share and check that LibreLinkUp (if you’ll share) is enabled.
- Confirm that the app is uploading data to LibreView (check that LibreView shows your sensor under “Devices”).
- Walk around a little (ensuring sensor and phone stay within Bluetooth range ~10 m) to see if updates continue.
5. Share glucose data with Caregivers via LibreLinkUp (Optional)
Once the sensor-to-phone link is stable:
- In your Libre 3 app, go to Connected Apps > Share > LibreLinkUp.
- Tap “Add Connection” or “Invite”.
- Enter caregiver name and email, send invitation.
- The caregiver installs the LibreLinkUp app, accepts the invite, and can now view your glucose readings and receive alarms.
That completes the process. At this point, you are connected.

Setting Up Alarms and Sharing Data with Libre 3 App
The Libre 3 app has customizable alerts for:
- Low Glucose: Set between 60-100 mg/dL.
- High Glucose: 120-400 mg/dL.
- Signal Loss: Auto-enabled.
In the app, tap “Alarms” in the menu, toggle on, and adjust. These follow your phone’s sound settings, crank up volume for overnight alerts. You can manage alerts under the Alarms tab in the app. Allow critical alerts to bypass “Do Not Disturb” so you never miss important notifications.
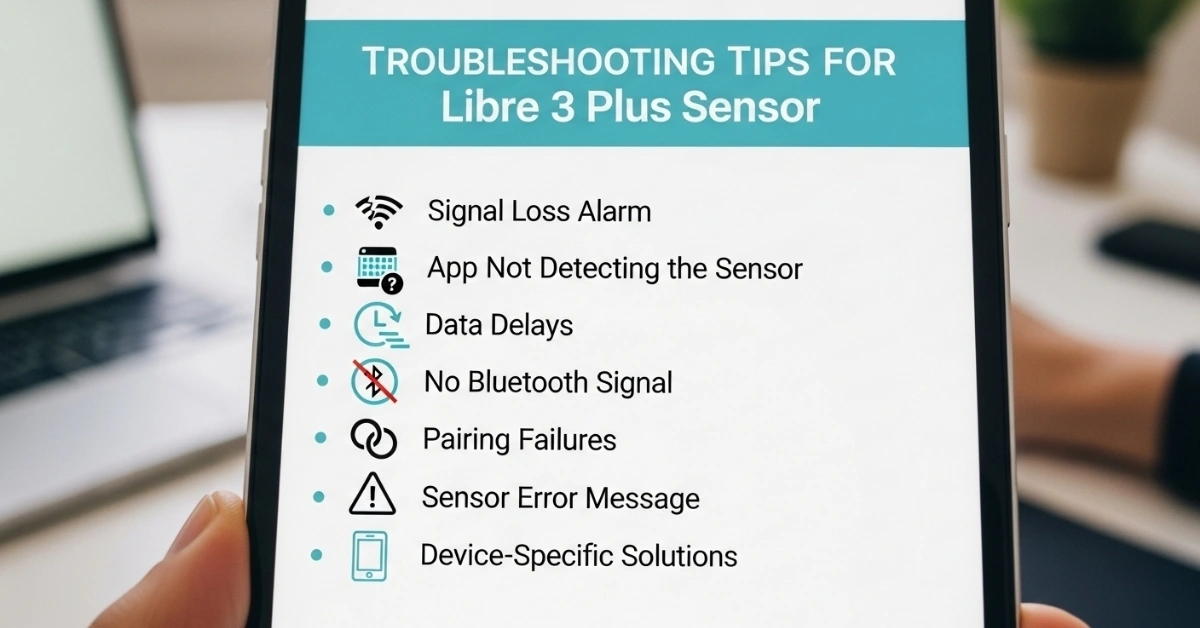
Troubleshooting Libre 3 Plus Phone Connection Issues
- Signal loss alarm: Triggers after 20 minutes without communication. To fix, stay within 33 feet, turn Bluetooth off/on, or restart your phone. Underwater? Bluetooth might weaken, dry off, and reconnect.
- If the app doesn’t detect the sensor, check that NFC is enabled and re-scan.
- Experiencing data delays? Disable battery saver or power optimization to keep the app active in the background.
- No Bluetooth signal often results from interference with other devices. Temporarily turn off other Bluetooth medical gadgets.
- Pairing failures may be due to an outdated LibreLink app—update and retry.
- If you see a sensor error message, the sensor might be expired or damaged. Replace it promptly.
- For Android, manual NFC activation might be necessary; iPhones use automatic Bluetooth pairing. If stuck, force-close and restart the app.
Tips for Optimal Use and Maintenance
To keep your linking Libre 3 Plus to iPhone or Android smooth:
- Update the app regularly.
- Monitor battery, low phone power can drop connections.
- Travel? The sensor works offline, but syncs when back online.
- Integrate with life: Add notes for meals/exercise to spot patterns.
- Avoid airplane mode while using the sensor, as Bluetooth must stay active for continuous data.
- Always cross-check data integration with electronic medical records (EMRs) via LibreView.
If you are using Libre 2 plus and want to shift to Libre 3 plus and have some doubts, here is our comprehensive guide that gives you comparison details on Libre 2 plus and Libre 3 plus. After reading this guide, you will choose which suits best for you.
Conclusion:
Connecting your FreeStyle Libre 3 Plus to your smartphone transforms diabetes management, giving you continuous, real-time insights that help you stay in range and reduce complications. By following this guide, you’re on the path to leveraging the latest CGM technology efficiently.
Whether you’re using an iPhone or Android device, following this step-by-step setup ensures a smooth pairing experience. And if you’re looking to enhance your CGM performance, don’t forget essentials like sensors, patches, etc, readily available at CGM monitors to support your journey.
Disclaimer:
This guide is for informational purposes only and does not replace professional medical advice. Always consult your healthcare provider before making any changes to your diabetes care routine. Some illustrations in this blog are AI-generated and used for educational purposes only.
Frequently Asked Questions
How do I know if my phone is compatible with FreeStyle Libre 3 Plus?
Check that your iPhone is iOS 15.5+ (iPhone 7 or newer) or Android 8.0+ with NFC enabled. Refer to Abbott’s official compatibility list or CGM Monitors’ guide for details.
What if my sensor doesn’t pair with my phone?
Ensure Bluetooth and NFC are enabled, the app is updated, and the sensor is properly applied. Restart the app or phone if needed.
Can I share my glucose data with family?
Yes, use the LibreLinkUp feature in the FreeStyle Libre 3 app to invite caregivers to monitor your readings remotely.
How long does the FreeStyle Libre 3 Plus sensor last?
The sensor lasts up to 15 days once activated, providing continuous real-time glucose data.
What should I do if the sensor falls off?
Use adhesive patches like the ones available at CGM Monitors to secure your sensor and prevent loss.


Write a comment
Your email address will not be published. All fields are required