Table of content
- Introduction to Libre 3 Plus Sensor
- When to Remove Your Libre 3 Plus Sensor
- How to Remove Libre 3 Plus Sensor: Preparation to Dispose Of
- Tips for Reducing Pain and Discomfort
- Managing Skin After Sensor Removal:
- Common Problems During Sensor Removal
- When to Consult a Healthcare Professional
- Conclusion
- Frequently Asked Questions
Managing diabetes effectively often requires the use of continuous glucose monitoring (CGM) devices like Libre, Dexcom and Medtronic sensors. While these devices offer convenience and real-time glucose data, knowing how to safely remove the sensor is equally important. Improper removal can lead to skin irritation, infection, or sensor damage. In this comprehensive guide, we will explain how to remove Libre 3 Plus sensor, provide step-by-step instructions, and share tips for a safe and comfortable experience.
Introduction to Libre 3 Plus Sensor
The Freestyle Libre 3 Plus sensor is a next-generation CGM device available on CGM Monitors at the best price. It is designed to provide accurate glucose readings in real time. Unlike traditional glucose monitoring, like Accu Chek Guide, it eliminates frequent finger pricks and allows users to scan glucose levels conveniently.
Key features include:
- Continuous glucose monitoring with 1-minute updates.
- Compact, discreet design for everyday wear.
- 15-day wear period, depending on usage. (1 day extra compared to the old Libre 3)
- Water resistance for everyday activities.
While the sensor is user-friendly, knowing how to remove the Libre 3 Plus sensor safely is critical for maintaining skin health and ensuring comfort.
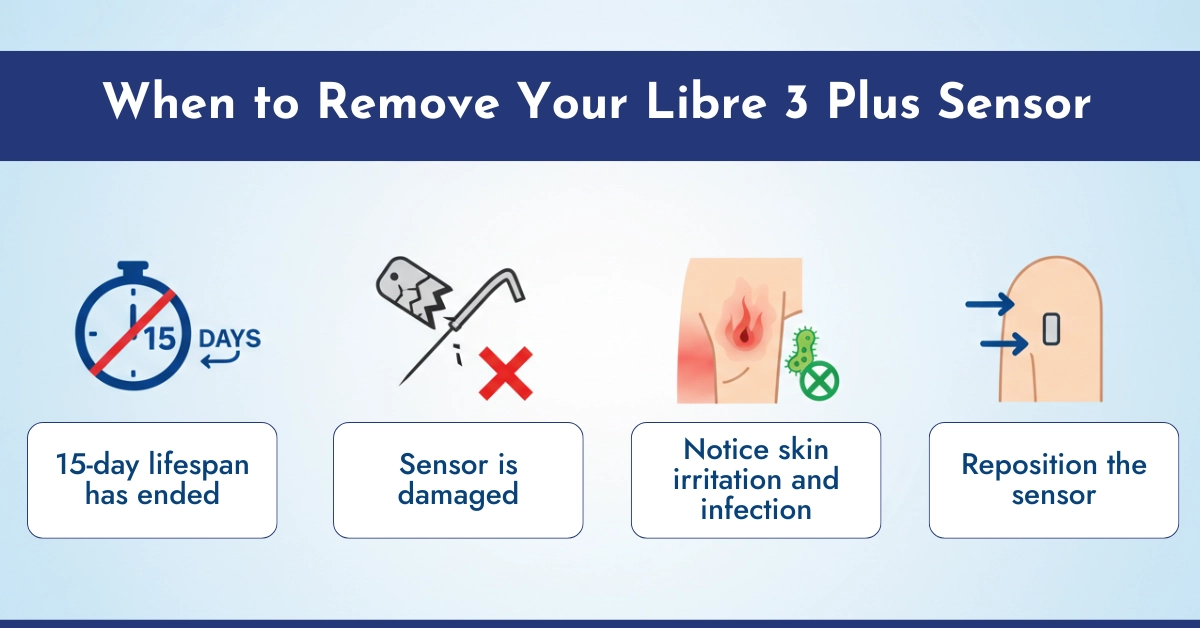
When to Remove Your Libre 3 Plus Sensor
Knowing the right time to remove your sensor is crucial. Remove your sensor when:
- The 15-day lifespan has ended.
- The sensor is damaged or detached.
- You notice skin bruising, irritation or infection around the sensor site.
- You need to reposition the sensor for comfort or accuracy.
Note: Avoid forcing the sensor off before the recommended time, as it may damage the adhesive site and cause bleeding.
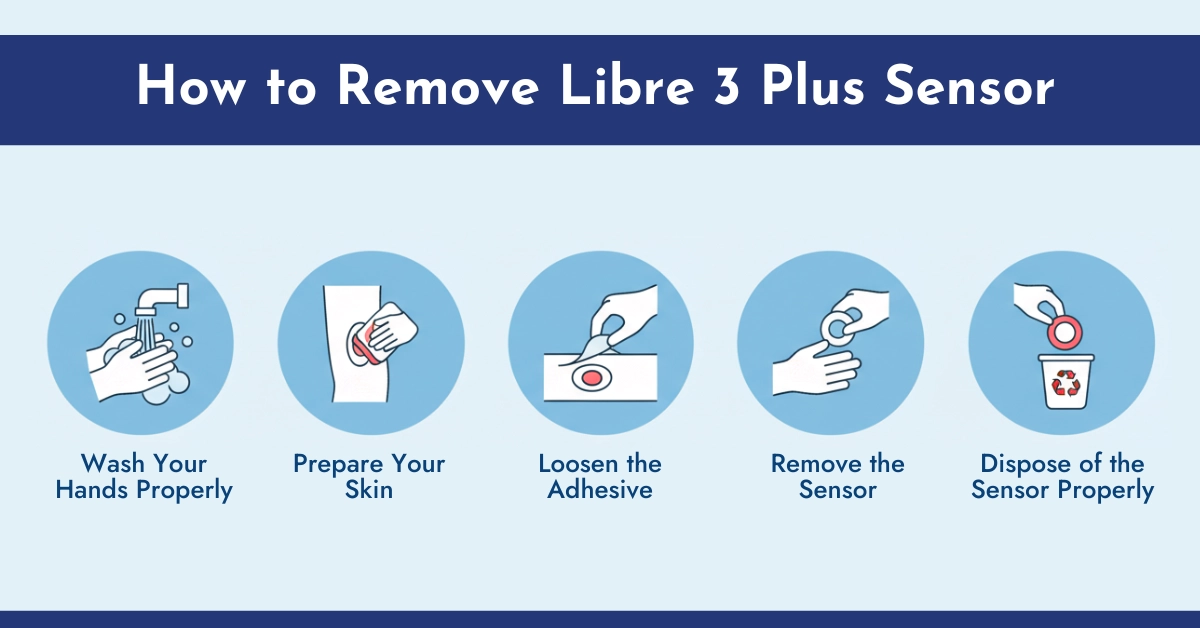
How to Remove Libre 3 Plus Sensor: Preparation to Dispose Of
Follow these simple steps to safely remove your Libre 3 Plus sensor:
Wash Your Hands Properly: Otherwise Infection May Cause
Start by washing your hands thoroughly with soap and water to prevent infection or itching. This helps prevent introducing bacteria to the sensor site. Yes, there is a potential risk of infection if proper hand hygiene and site preparation are not followed. In diabetics who are more prone, major infections are uncommon, and minor skin issues (erythema, itching, etc.) are frequently reported by the users.
Prepare Your Skin: Clean the Application Sites
Clean the surrounding skin area where your CGM sensor is attached with an alcohol wipe to remove sweat or oils. Alcohol wipes also wipe out the bacteria from the infection sites. Moreover, it helps reduce adhesive residue and irritation on your skin.
Loosen the Adhesive: Slowly Detaching the Edges
- Gently lift one edge of the sensor using your fingernail or a soft adhesive remover.
- Slowly peel back the adhesive in the direction of hair growth.
- Avoid pulling directly upwards, as this can cause discomfort.
Tip: Using medical adhesive remover wipes can make the process smoother and reduce skin irritation.
Remove the Sensor: Do not Pull Fast
Once the adhesive is loosened, carefully lift the sensor from the skin. Hold the sensor close to the skin and peel slowly to prevent sudden pulling. If you pull the sensor in a hurry, it may cause bleeding that may cause you discomfort.
Dispose of the Sensor Properly
- Place the used sensor in a sharps container or a sealed plastic container.
- Avoid throwing it in the regular trash to prevent injury or contamination.
Note: The Libre 3 Plus sensor lasts for 15 days, which means you’ll need two sensors for a full month. CGM Monitors, a trusted US retailer, offers a convenient full-month subscription for the Libre 3 Plus at an affordable price, making it easy to stay on track with your glucose monitoring.
Tips for Reducing Pain and Discomfort
Removing CGM sensors can sometimes cause discomfort. Here are some expert tips:
- Warm the sensor area with a warm compress for 1-2 minutes or simply use your palm to heat it to loosen the adhesive.
- Apply baby oil or petroleum jelly around the edges before removal to reduce stickiness.
- Take your time – rushing can cause unnecessary pain.
- Consider over-the-counter adhesive removers for sensitive skin.
Managing Skin After Sensor Removal:
Post-removal skin care is crucial for preventing irritation and infection:
- Clean the area with mild soap and water.
- Apply a soothing lotion or aloe vera gel to reduce redness.
- Avoid tight clothing over the site for 24 hours to let the skin breathe.
- Monitor for signs of infection, including swelling, pus, or increased pain.
Clinical Insight: Dermatologists recommend rotating sensor sites with each application to prevent skin breakdown or scarring.
Common Problems During Sensor Removal
While most removals are straightforward, some users may encounter issues:
- Adhesive residue left on skin – can be removed with medical adhesive remover or baby oil that are easily available in market.
- Sensor breaking during removal – remove slowly and in a controlled manner; if broken, contact your healthcare provider.
- Painful removal – try warming the area and using slow, steady peeling motions.
By following best practices, these problems can be minimized, making sensor removal safe and comfortable.
When to Consult a Healthcare Professional
If you experience any of the following, consult your doctor:
- Signs of infection such as redness, swelling, or pus.
- Persistent skin irritation that does not improve within 24-48 hours.
- Pain or bruising beyond normal mild discomfort.
Healthcare professionals can provide guidance on alternative sensor sites or recommend skin treatments if necessary.
Conclusion
Learning how to remove the Libre 3 Plus sensor safely is essential for any CGM user. Following the proper steps outlined by experts, using gentle techniques, and caring for your skin after removal ensures a comfortable and safe experience. By understanding the process and taking precautions, you can continue to enjoy the benefits of continuous glucose monitoring without compromising skin health or safety.
Frequently Asked Questions
How do I remove a Libre 3 Plus sensor?
Peel it off exactly like a bandage:
• Take a warm shower or soak the area for 5 minutes (makes it 10× easier).
• Get under one corner with your fingernail or a credit card.
• Slowly peel it back at a shallow angle (almost flat against the skin) while supporting the skin with your other hand.
Fast ripping hurts more and leaves more glue.
Does it hurt to remove a CGM sensor?
Removing a CGM sensor usually causes minimal discomfort, akin to peeling off a strong bandage, but improper technique or stuck hair can make it painful or cause some allergic reactions. To minimize pain, smoothly apply pressure around the sensor with the help of your palm or simply apply oil or adhesive remover around the edges before gently peeling at a 45-degree angle.
How do I safely remove a FreeStyle Libre 3 Plus sensor without pain or skin irritation?
To safely remove your Abbott Libre Libre 3 Plus sensor without causing pain or skin irritation, start by gently lifting one edge of the adhesive and peeling it back slowly in a single, smooth motion while supporting the skin with your other hand. Applying baby oil around the edges beforehand can help loosen the adhesive, making the process easier and less likely to tug on the skin. After removal, clean the area with warm soapy water to remove any residue and apply a gentle moisturizer to soothe the skin, ensuring it’s ready for your next sensor application as a diabetic patient monitoring glucose levels.
What are the recommended steps for detaching a Libre 3 Plus sensor after its 15-day wear period?
After the 15-day wear period, prepare for detachment by ensuring your skin is dry and clean, then gently pull up one edge of the adhesive and peel the sensor away slowly in one continuous motion to avoid tearing. Dispose of the used sensor according to local guidelines for medical waste, and immediately clean the site with isopropyl alcohol or warm soapy water to eliminate any leftover adhesive. For diabetic patients, promptly apply a new sensor to a different spot on the back of your upper arm to maintain continuous glucose monitoring without interruption.
How can I minimize skin redness or itching after removing my Libre 3 Plus sensor?
To minimize skin redness or itching after removing your Libre 3 Plus sensor, gently cleanse the area with fragrance-free soap and warm water right away, then pat it dry without rubbing to prevent further irritation. Applying a hypoallergenic moisturizer or aloe vera gel can help calm the skin, and switching the application site to the other arm for the next sensor reduces repeated stress on the same area. As a diabetic patient, if irritation persists, consult your healthcare provider to ensure it doesn’t affect your overall skin health or glucose management routine.
What household items can be used safely to help loosen the Libre 3 Plus adhesive?
Safe household items like baby oil or vegetable oil can be applied around the sensor’s edges to help loosen the Libre 3 Plus adhesive, allowing for easier peeling without excessive force. Warm soapy water or isopropyl alcohol (rubbing alcohol) from your medicine cabinet can also assist in softening the bond when gently rubbed on the perimeter before removal. For diabetic patients, always test a small area first to avoid any skin reactions, and follow up with gentle cleansing to keep the site clean for future sensor use.
What factors contribute to strong adhesion of the Libre 3 Plus sensor?
Strong adhesion of the Libre 3 Plus sensor can be influenced by factors such as body heat and sweat during wear, which enhance the adhesive’s grip over the 15-day period, as well as clean, dry skin at application that allows for optimal bonding. Individual skin types, like oily or moist skin, and environmental conditions such as humidity can also make the adhesive more tenacious. For diabetic patients, understanding these factors helps in choosing application sites and timing replacements to balance secure wear with easier removal for consistent glucose tracking.
Why is it important to remove the Libre 3 Plus sensor correctly to avoid adhesive residue?
Removing the Libre 3 Plus sensor correctly by peeling slowly from one edge helps prevent adhesive residue from lingering on the skin, which could cause discomfort or block pores leading to irritation. Leftover residue might also interfere with the adhesion of a new sensor, potentially affecting accurate glucose readings essential for diabetic management. Proper technique ensures the skin remains clean and healthy, allowing seamless transitions between sensors without complications.
Why is my FreeStyle Libre 3 Plus sensor so difficult to remove sometimes?
Your FreeStyle Libre 3 Plus sensor may be difficult to remove sometimes due to prolonged exposure to body heat and moisture, which strengthens the adhesive over time, or if applied to skin with natural oils that enhance its stickiness. Variations in individual skin texture, recent activities like exercising or showering, and environmental humidity can also contribute to tighter bonding. Using a loosening agent like baby oil and peeling gently can make the process smoother, ensuring you can replace it promptly for uninterrupted monitoring.
Can I remove and reapply the Libre 3 Plus Sensor?
No. Once removed, the adhesive is destroyed and the sensor loses Bluetooth pairing. Trying to reapply it (even with extra tape) will cause an immediate error. Abbott does not replace sensors removed early by mistake.
Can I take my Libre sensor off early?
Yes, you can remove it anytime. Just peel it off — the app will show “Sensor Ended,” and you can apply a new sensor right away. Just note: removing it early means you will use up one of your sensors.
How to remove FreeStyle Libre glue residue?
Top 5 methods that actually work (from most gentle to strongest):
1. Baby oil or coconut oil + rubbing with a washcloth.
2. Adhesive-remover wipes (Uni-Solve is the gold standard).
3. Alcohol wipes + firm rubbing.
4. Goo Gone or hand-sanitizer gel (let it sit for 2 minutes).
5. Micellar water on a cotton pad — surprisingly effective and gentle.

Write a comment
Your email address will not be published. All fields are required