Table of content
- Understanding the Freestyle Libre 3 Plus Sensor
- When Should You Remove the Libre 3 Plus
- How to Remove FreeStyle Libre 3 Plus Sensor From Arm
- What to Do If Libre 3 Plus Sensor Falls Off Early
- Libre 3 Pus Sensor Removal Issues and Tips
- What Actual Users Say About Libre 3 Plus
- Conclusion:
- Frequently Asked Questions
When it’s time to replace your FreeStyle Libre 3+ sensor, it’s important to remove it safely and correctly. Doing so protects your skin and helps ensure accurate readings from your next sensor. Removing the sensor without proper technique can lead to skin irritation, adhesive residue, or even accidental sensor damage. That’s why following expert-backed guidance is key.
At CGM Monitors, our information is reviewed by diabetes care professionals and based on manufacturer guidelines from Abbott, ensuring safety and reliability. We’ll walk you step-by-step through the right way to remove your Libre 3 Plus sensor and share proven tips to handle common issues like sticky adhesive or sensitive skin.
Understanding the Freestyle Libre 3 Plus Sensor
This upgraded version of the Libre 3 sensor is made for users as young as 2 years old and works with AID systems. The sensor is very small—about the size of two stacked pennies—and is worn on the back of the upper arm. It sends real-time glucose readings directly to your phone through the Libre app, so you don’t need to do finger pricks all the time.
After the first pairing using NFC, it connects automatically via Bluetooth to your smartphone. If you haven’t connected your sensor yet, check out our guide on how to connect Libre 3 Plus to your phone.
When Should You Remove the Libre 3 Plus
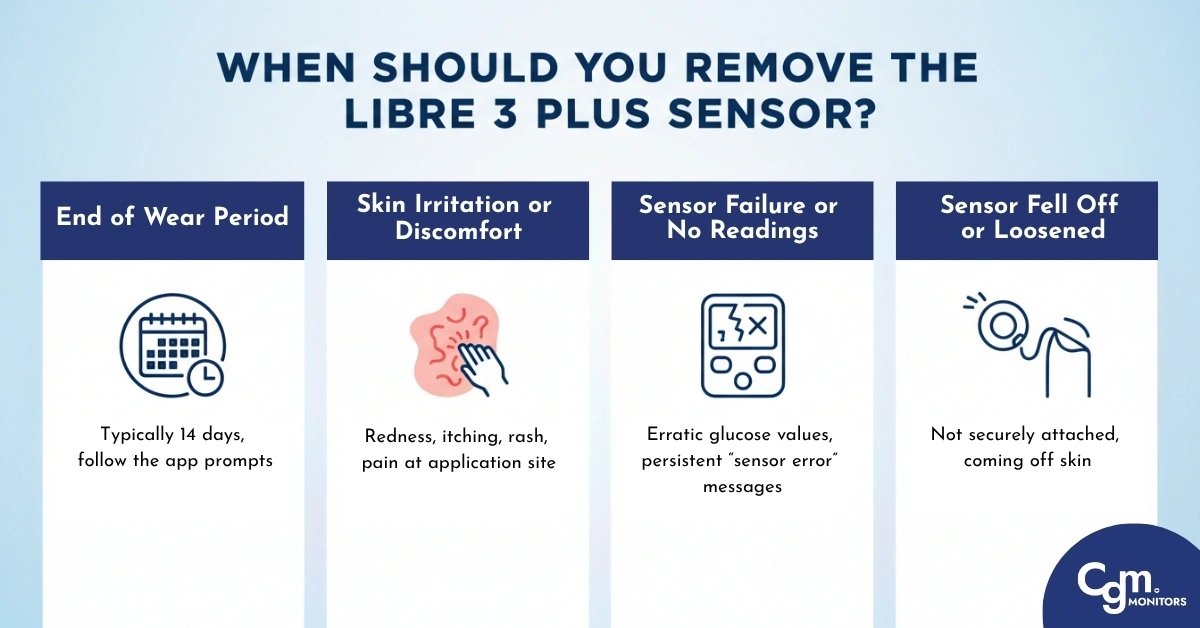
End of Wear Period (15 Days): The Libre 3 Plus sensor sysytem works for up to 15 days. Many users notice it stops working around day 14 due to factors like sweat, heat, skin type, body chemistry adhesive wear, and sensor degradation. The Libre app or reader will alert you when it’s expired.
Skin Irritation or Discomfort (Affects 1 in 10 users): If you notice redness, itching, swelling, or peeling, remove the sensor right away. Wearing it on irritated skin can cause lasting damage.
Sensor Failure or No Readings (About 5% of sensors): If your sensor shows “Sensor Error” or stops sending data, remove it and replace it with a new one.
Sensor Fell Off or Loosened: If the sensor falls off, it cannot be reused or reattached. Take a photo, note the date, and contact your supplier or Libre support for a replacement. Check the warranty or return policy where you bought it.
How to Remove FreeStyle Libre 3 Plus Sensor From Arm
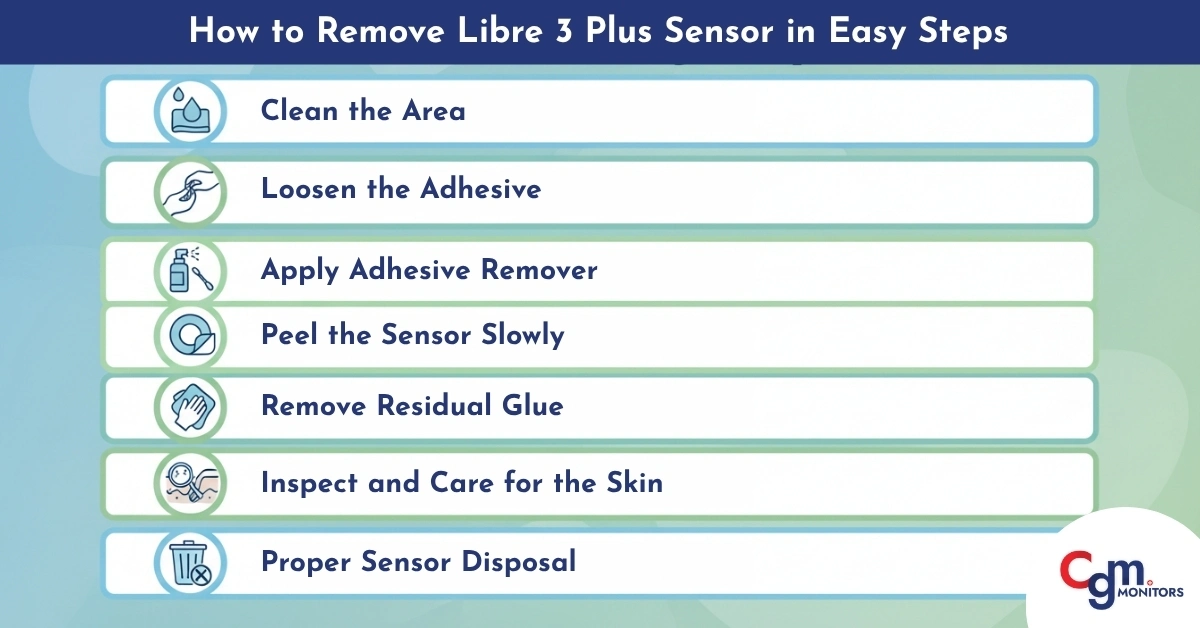
Clean the Area
Wash your hands with mild soap that must be free from fragrance and dry your hands thoroughly. Gently wipe around the sensor site with a warm, damp cloth or with alcohol wipes to soften the adhesive and remove surface that is covered with oils or dirt.
Loosen the Adhesive
Apply a warm compress to the area for 1-2 minutes. This helps weaken the adhesive bond and prepares the area for removal.
Apply Adhesive Remover
Use a medical-grade adhesive remover to work around the edges of the sensor gently. Avoid letting the solution enter the center of the sensor or its electronic components.
Peel the Sensor Slowly
Find an adhesive corner. Slide a fingertip or blunt tweezers under one adhesive edge. Slowly and evenly peel back the sensor from your skin in one motion, keeping skin taut with the other hand. Do not pull fast; this can tear skin or cause pain with bleeding.
Remove Residual Glue
To remove Libre 3 Plus glue residue, apply 70% isopropyl alcohol or adhesive remover on a cotton pad and gently rub the area in a circular motion. Continue until the skin is clean. If skin is irritated, stop and rinse thoroughly with water before continuing.
Inspect and Care for the Skin
Check the site for irritation, rashes, or open skin. If needed, apply a healing ointment or let the area breathe before placing a new sensor. Consult your doctor if you feel an infection at the site.
Proper Sensor Disposal
Do not dispose of the sensor in regular trash. Place it in a sharps-safe container or dispose of it according to your local medical waste guidelines, like using a biohazard bag and sealing it before disposal.
What to Do If Libre 3 Plus Sensor Falls Off Early
People experience, and then they respond. Here’s how to do it initially:
- Never reattach the sensor; it may no longer be sterile or reliable.
- Document the event by simply taking a photo, recording the sensor code, and the date.
- Reach out to your sensor provider or supplier with documentation and request a replacement.
- Apply a new sensor (on another spot or arm) as soon as possible; Libre 3 Plus does not reliably support reattachment.
- Claim it with a new sensor by completing the online support request form or calling Abbott Customer Care at 855-632-8658.
- Buy a new Libre 3 plus from a reliable pharmacy like CGM Monitors.
Important: Do you knowabout the the Libre 3 Plus Error code 57? This is very common, and it happens when the sensor isunable toproperly send glucose data to your app, and common reasons include signal interruption, sensor not fully activated, app glitches or may be internal fault of the sensor. To know further about Libre Errors and faulty reading, pick our guide on “FreeStyle Libre false low readings reasons and solutions”.
- Sensitive Skin – Strong adhesive or quick peeling can irritate skin. Always loosen gently before removal.
- Hairy Skin- Hair can cause painful tugs. Shave or trim before applying the sensor.
- Too Much Adhesive – Old or layered adhesives can stick too firmly. Avoid using extra tapes or barrier creams unnecessarily.
- No Adhesive Remover – Skipping adhesive remover may irritate skin. Use a medical-grade remover for gentle detachment.
- Rough Removal – Don’t pull fast — peel slowly and steadily to protect your skin.
What Actual Users Say About Libre 3 Plus
We listen to the users and then write! Some users said that removing the Libre 3 Plus sensor was easy and nearly painless. Many say that using adhesive removers or baby oil helps make the process effortless. A common user tip is to peel the sensor slowly from one side, not from the centre. This reduces the risk of tugging at sensitive skin. Some users also mention that after switching to Libre 3 Plus, removal became smoother compared to earlier models because of improved adhesive technology.
Overall, with a bit of care and patience, users find that Libre 3 Plus removal is one of the easiest CGM experiences available.
Conclusion:
Removing the Libre 3 Plus sensor safely is key to protecting your skin and ensuring consistent glucose monitoring. Whether your sensor has expired, failed early, or irritated, using a gentle removal technique with adhesive remover or oil can make the process painless. Always clean the area thoroughly, dispose of the sensor correctly, and rotate your application sites to maintain skin health. Avoid common mistakes like pulling too fast or skipping skin preparation.
If you’re looking to buy sensors or devices with insurance coverage and hassle-free support, CGM Monitors is a trusted source that makes the process simple and worry-free.
Disclaimer:
This guide is just for information and doesn’t replace advice from a doctor or medical expert. Always follow your healthcare provider’s instructions when using medical devices. Please note that the images used in this blog are created by AI for illustrative purposes only.
Frequently Asked Questions
Can the Libre 3 Plus adhesive tear my skin?
Yes, if removed too quickly or without softening the adhesive first, it can pull skin or hair. Always loosen it with oil or remover before peeling gently.
What if the sensor is really stuck and won’t come off?
Apply coconut oil or a medical adhesive remover around the edges. Wait a minute, then slowly peel the sensor. It helps reduce pain and skin damage.
Can removing the sensor damage my skin?
It can if pulled off too quickly or on sensitive skin. Always use adhesive remover, go slowly, and check the site afterwards. Moisturize if needed.
What's the best way to clean leftover glue after removing it?
Users recommend baby oil, coconut oil, or Uni-Solve. Apply, let it sit, and gently rub with a cotton pad. Wash with warm water afterward to keep skin healthy.
How do I safely remove a FreeStyle Libre 3 Plus sensor without pain?
To safely remove a Libre CGM sensor without discomfort, start by gently lifting one edge of the adhesive patch while supporting the surrounding skin with your other hand. Apply a small amount of baby oil or a mild adhesive remover around the edges to loosen the bond, then peel slowly and steadily in the direction of hair growth to avoid pulling. After removal, it is recommended to clean the area with mild soap and water to soothe.
How can I minimize skin irritation when taking off a Libre 3 Plus sensor?
To reduce skin irritation during removal, prepare the area by applying a gentle oil-based solution to soften the adhesive beforehand, allowing for a smoother peel. Work slowly and avoid abrupt tugging, which can cause redness; instead, use circular motions to ease it off.[/vc_toggle
How do I properly dispose of a used FreeStyle Libre 3 Plus sensor and its packaging?
Dispose of the used sensor by placing it in a biohazard container such as a sharps bin to handle any potential medical waste safely, following local medical waste guidelines. The packaging, like the applicator and foil wrappers, can typically be recycled if clean and separated by material type, but check your area’s recycling rules to avoid contamination.
What are the best methods for loosening the adhesive of a Libre 3 Plus sensor?
Effective ways to loosen the adhesive include soaking the patch with warm, soapy water for a few minutes or applying a natural oil like coconut or olive oil to penetrate the edges. You can also use an over-the-counter adhesive remover wipe, dabbing it gently around the perimeter to break down the stickiness without harsh chemicals.
What supplies do I need to remove a FreeStyle Libre 3 Plus sensor?
Essential supplies include a mild adhesive remover or baby oil for loosening the patch, cotton balls or pads for application, and mild soap with warm water for cleaning afterward.
What type of medical adhesive remover is safe for sensitive skin after Libre 3 Plus sensor removal?
For sensitive skin, opt for silicone-based or oil-infused adhesive removers that are fragrance-free and hypoallergenic, as they gently dissolve residue without causing further irritation. Avoid alcohol-based products, which can dry out the skin.
Why is it important to remove a FreeStyle Libre 3 Plus sensor correctly?
Proper removal prevents skin damage, such as tears or infections, which could complicate diabetes management by affecting future sensor adhesion or accuracy. It also minimizes discomfort and allergic reactions, ensuring the site heals quickly for the next application.
Why does my skin itch or get red after removing a Libre 3 Plus sensor?
Skin itching or redness post-removal often results from adhesive residue or a mild reaction to the materials. This may also stem from improper removal techniques that pull on the skin or from not cleaning the site thoroughly afterward. If symptoms persist beyond a day, consult a healthcare provider.
When should I remove my FreeStyle Libre 3 Plus sensor?
Remove the sensor after its recommended wear time, typically 14–15 days, or sooner if it becomes loose, damaged, or inaccurate in readings. Also, change it if you notice skin irritation or if it’s exposed to excessive moisture that could affect performance.
What should I do if my Libre 3 Plus sensor is stuck or difficult to remove?
If the sensor is stuck, apply a generous amount of adhesive remover or oil around the edges and let it sit for several minutes to soften the bond before attempting to peel gently. Avoid forcing it off to prevent skin injury; instead, try warm compresses to aid loosening.


Write a comment
Your email address will not be published. All fields are required