Table of content
- Introduction:
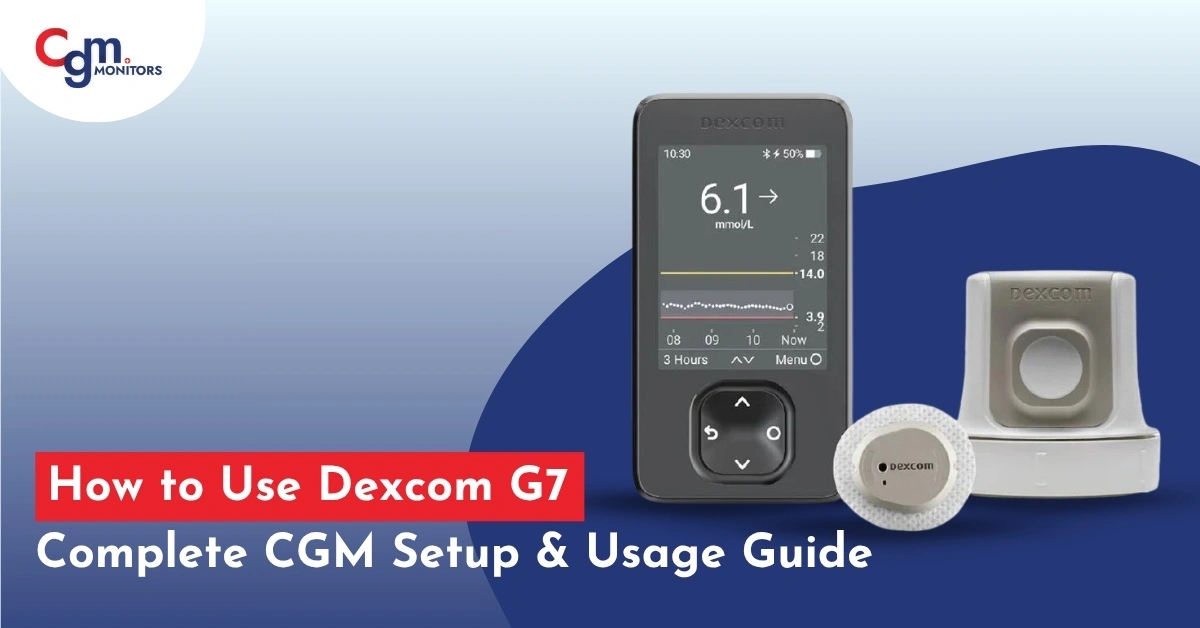
- What’s Included in the Dexcom G7 Kit
- How Does the Dexcom G7 Work: Step-by-Step Instructions
- How to Apply the Dexcom G7 Sensor:
- Using the Dexcom G7 App with Dexcom G7:
- Dexcom G7 Receiver Instructions:
- Which Insulin Pumps Are Compatible with CGM Dexcom G7
- Syncing with Insulin Pump
- Troubleshooting Common Dexcom G7 Issues:
- How Often Do You Change Dexcom G7 Sensor
- Conclusion:
- Citation:
Introduction:
This complete guide is thoughtfully crafted to ensure you get the most out of your experience with the Dexcom G7, whether you’re a first-time user or transitioning from another continuous glucose monitoring (CGM) system. Understanding how to use Dexcom G7 system with proper setup is essential for accurate glucose tracking and improved diabetes management. In this guide, we’ll walk you through every step—from sensor installation and app pairing to integrating with your smartphone, smartwatch, or insulin pump.
If you’re seeking a clear, confident approach to using the Dexcom G7 effectively, you’re in the right place. Let’s begin your journey to smarter glucose monitoring.
What’s Included in the Dexcom G7 Kit
Before you start, ensure your kit contains the following:
- Dexcom G7 Sensor – the small device that sits under your skin to measure glucose.
- Dexcom G7 Transmitter – built-in in G7, it sends glucose data to your app or receiver.
- Alcohol Wipe – to clean the skin before insertion.
- Adhesive Patch – for secure placement of the sensor.
- User Manual – for reference.
How Does the Dexcom G7 Work: Step-by-Step Instructions
Applying Dexcom G7 to your skin is simple and easy. Here is the step-by-step sensor application guide based on the daily experience. If you are new and do not know how to use it properly. We believe these steps will surely help you.
Step 1: Prepare for Insertion
Choose an FDA-approved insertion site:
- Upper arm or abdomen (consult your healthcare provider).
- Avoid areas with scars, irritation, or tattoos.
- Wash and dry your hands thoroughly.
- Clean the skin with an alcohol wipe and allow it to dry completely.
Step 2: Insert the Dexcom G7 Sensor
- Remove the sensor from the packaging.
- Use the auto-inserter to place the sensor under the skin:
- Hold the device firmly on the chosen area.
- Press the button to insert the sensor automatically.
Ensure the sensor is secure with the adhesive patch available on the CGM Monitors. Avoid touching the sensor tip to prevent contamination.
Step 3: Activate the Dexcom G7 in the App
- Download the Dexcom G7 app on your smartphone (iOS or Android).
- Create or log into your Dexcom account.
- Follow the app instructions to pair your sensor:
- Enter the sensor code or scan the QR code.
- Start the 2-hour warm-up period.
During this time, the sensor is calibrating and will not display readings.
Step 4: Monitor Your Glucose Levels
Once activated, the Dexcom G7 app will display:
- Current glucose level
- Trend graph (rising, falling, or stable)
- Alerts and notifications for high or low glucose
Step 5: Respond to Alerts
The Dexcom G7 can alert you when your glucose is:
- Too high (hyperglycemia)
- Too low (hypoglycemia)
- Rapidly changing
Always check with a fingerstick if your reading seems unusual.
Step 6: Sensor Replacement
- The standard Dexcom G7 sensor lasts up to 10 days while the premium one, which is only for adults. This new Dexcom G7 sensor lasts for about 15 days with 12 hours of grace time.
- After the sensor expires, remove it gently and replace it with a new sensor following the same steps.
How to Apply the Dexcom G7 Sensor:
Proper sensor placement ensures accurate readings. Here’s how to do it:
1. Pick the Right Spot
Select a pristine and flat zone on the back of your upper arm. Avoid scars, marks, burns, tattoos, or irritated skin.
2. Prep the Area
Clean the area with an alcohol swab. This minimizes the Skin irritation as well as assures that the sensor will stick properly.
3. Insert the Sensor
- Peel the label of applicator to see your sensor code—you’ll need this for app setup.
- Press the applicator firmly to your skin.
- Push the button; you’ll hear a click when it’s properly deployed. After hearing the click make sure to place the pointer.
- Remove the applicator gently—your Dexcom G7 sensor should stay on your skin.
4. Secure with the Overpatch
Apply the overpatch to keep the sensor secure for its full 10-day wear period. Especially useful if you’re active or prone to sweat.
Tip from CGM Monitors: Be mindful of sensor placement to avoid loss of signal or premature detachment.

Using the Dexcom G7 App with Dexcom G7:
The Dexcom G7 app gives you real-time glucose tracking, alerts, and trend arrows.
Setup Steps:
- Acquiring G7 Dexcom’s mobile application can be done via the App Store for iOS and Google Play for Android.
- Log in or create a Dexcom account.
- Enter the sensor code from the applicator.
- Pair the sensor via Bluetooth.
- Allow a 30-minute warm-up.
You can also add notes for meals, exercise, and more—making the app a powerful diabetes management tool.
Dexcom G7 Receiver Instructions:
If you don’t want to rely on your smartphone, the Dexcom G7 receiver offers a dedicated CGM monitor.
Initial Setup:
- Turn on the receiver and follow on-screen prompts.
- Enter the sensor code from the applicator.
- After the initial 30-minute warm up phase, readings start to become visible.
Daily Use:
- View real-time glucose, trends, and historical data.
- Set custom alerts for critical glucose levels.
- Keep the receiver charged to avoid data loss.
This is an excellent option for users who prefer a standalone device or cannot use phones regularly.
Which Insulin Pumps Are Compatible with CGM Dexcom G7
Dexcom G7 is compatible with specific insulin pumps to maintain perfect diabetes control. Glucose data can be delivered in real-time and used to control automated insulin delivery using compatible pumps such as Tandem t:slim X2 with Control-IQ and Omnipod 5. Combining Dexcom G7 with your insulin pump can enhance the management of glycemia and minimize the risk of hypoglycemia and daily diabetes management.
This combination is recommended by medical workers and supported by clinical studies, which makes it a safe and accepted mode. There will always be an optimum pump-G7 that will be perfect to your health condition, which only your endocrinologist will know.
Syncing with Insulin Pump
The Dexcom G7 integrates with various devices to make glucose management more convenient.
Pairing with a Tandem Insulin Pump
Want automated insulin adjustments? The Dexcom G7 pairs with Tandem t:slim X2 pumps for Control-IQ technology.
How to set it up:
- On the pump, go to Settings > CGM.
- Pair with your Dexcom G7 sensor.
- Enable Control-IQ for automated insulin delivery based on your real-time glucose.
This integration allows less manual input and more intelligent dosing.
Troubleshooting Common Dexcom G7 Issues:
Even the best CGM system may encounter occasional issues. Here’s how to solve the most common ones:
- Sensor not pairing: Restart your phone and ensure Bluetooth is enabled. Retry the pairing process.
- Signal loss: Stay within range (20 feet). Do not place the phone or receiver in thick bags or underneath heavy blankets.
- Irritated skin: Try using a barrier wipe before sensor insertion. Let the skin breathe between sensor changes.
- Sensor error messages: Don’t panic. Wait a few minutes to see if the sensor resumes. If not, replace it and contact Dexcom support.
Keeping extra sensors and patches on hand ensures you’re never left without your CGM monitor.
How Often Do You Change Dexcom G7 Sensor
The Dexcom G7 sensors have a maximum of 10 days of continuous glucose monitoring, while the premium new Dexcom G7 has 15.5 days. If you are using a standard one, then you need 3 sensors for a month, and if you are using the newly launched Dexcom G7 15-day wear-time sensor, then you need just two sensors per month. Frequent sensor replacement is required to ensure accurate data and prevent skin infections and sensor malfunction. Proper insertion, changing the location, and following the instructions of the manufacturer can maximize sensor performance.
Conclusion:
Getting started with the Dexcom G7 can seem intimidating, but with the right tools and guidance from CGM Monitors, you’ll feel like a pro in no time. Whether you’re using the Dexcom G7 app, receiver, or syncing with your Galaxy Watch or insulin pump, the system is flexible and powerful.
Bookmark this guide and refer back whenever needed. And if you’re shopping for the best in CGM technology, explore expert tools, support, and updates at CGM Monitors, your trusted partner in diabetes management.
Citation:
Dexcom, Inc. (2024). Dexcom G7 User Guide.


what does it mean and it comes up and says off line but starts up again. Dont know if the reading are correct or not. Help
Hello Wanda. Sorry to hear about any inconvenience you may have experienced.
Signal loss may temporarily disrupt the display, but your glucose readings remain accurate. To avoid signal loss:
Stay within 6 meters (20 feet) of the sensor and avoid obstructions like walls or water.
Disable battery optimization on your phone for the Dexcom app.
Keep the app in the foreground while using it.
If the issue persists, restart your devices.
You may also fill a Dexcom support request here or call them at 1-844-607-8398
How do I set my dragon g7 monitor back to default setting