Table of content
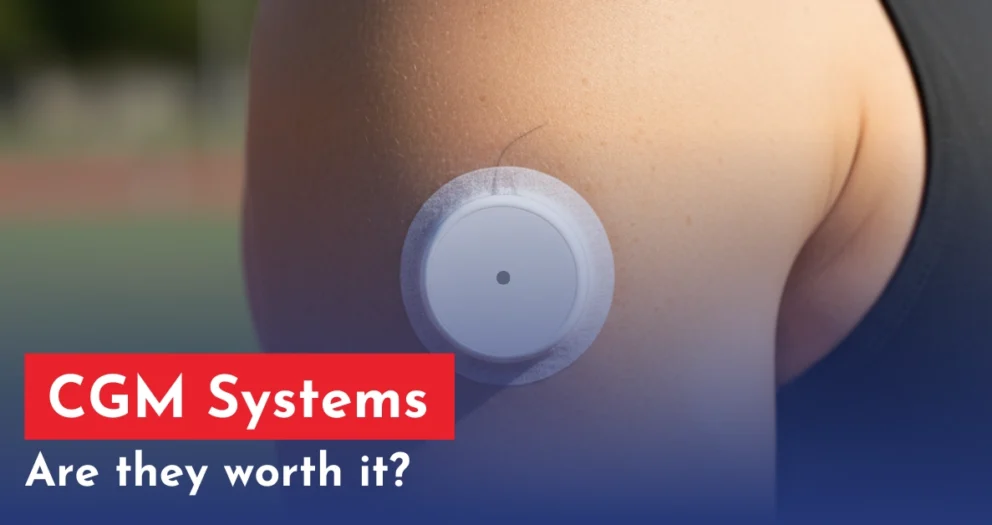
A Continuous Glucose Monitor (CGM) is a device invented for fingerprick-free glucose monitoring. These devices typically have a sensor with a microneedle that is considered the least invasive and does not cause bleeding. These CGM sensors come with different features, sizes, life spans, and accuracy. Among all these CGM sensors, Dexcom and Abbott are considered to be the top players.
According to PubMed, “CGMS uses a 1 mm length needle in a 3 mm × 3 mm microneedle array for percutaneous minimally invasive blood glucose measurement. This size of microneedle does not cause bleeding damage to the body when used.”
Understanding Dexcom G6 CGM
Before we dive into the replacement process, let’s take a moment to understand how the Dexcom G6 CGM system works. Here are the three main components:
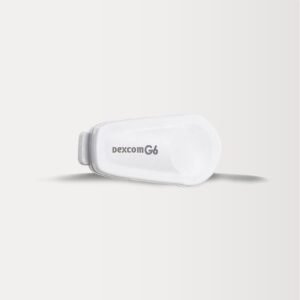
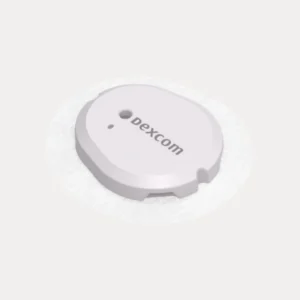
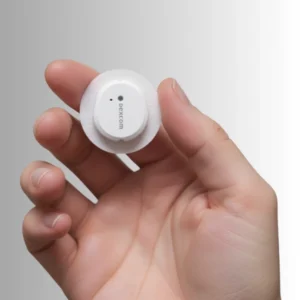
- Sensor: A discreet sensor is inserted into your skin that measures your glucose levels from interstitial blood.
- Transmitter: A detachable transmitter is attached to the sensor that wirelessly sends real-time glucose data to the receiver or compatible smart devices.
- Receiver/Smart Device: The receiver or smart device displays your glucose data, showing clear trends that help you make informed decisions about your diabetes management.
When Should You Replace the Dexcom G6 Sensor
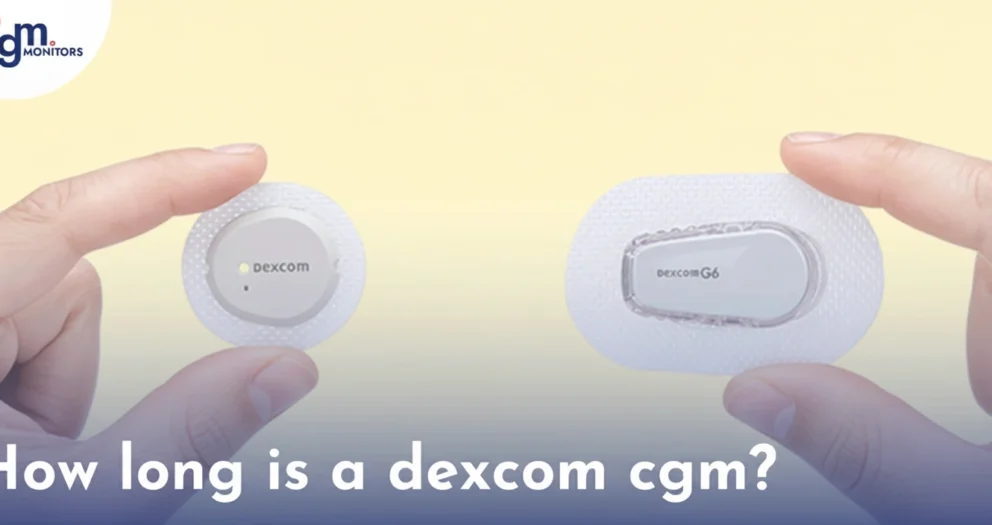
- End of 10-Day Wear Period: The G6 sensor is designed for up to 10 days of continuous use. Replace it promptly after this period to ensure accurate glucose readings.
- Sensor Malfunction or Error Alerts: If the receiver shows a “Sensor Error” or “Replace Sensor” message, remove the current sensor and insert a new one immediately.
- Adhesive Lifting or Poor Placement: If the sensor starts peeling off or shifts from its placement, replace it to prevent inaccurate readings or sensor detachment.
- Exposure to Water or Physical Damage: Sensors that are damaged, submerged excessively, or affected by physical trauma should be replaced to maintain safe and reliable glucose monitoring.
It’s important to note that the sensor may also need replacement if it becomes loose, damaged, or dislodged before the ten days mark.
How to Replace the Dexcom G6 Sensor?
Replacing the Dexcom G6 sensor requires just a few simple steps. The following are some steps that you must not forget while replacing the Dexcom G6 sensor:
Gathering the Necessary Supplies
Before you begin the sensor replacement process, gather all the necessary supplies. Here’s what you’ll need:
- A new Dexcom G6 sensor (10 days weartime)
- An alcohol swab or alcohol wipes
- Skin wipes (optional but recommended)
- A sensor applicator (usually provided in the G6 CGM system package)
- A compatible receiver or smart device with the Dexcom G6 app installed
Ensure all your supplies are within reach to avoid interruptions during the replacement process.
Preparation of Dexcom G6 CGM Sensor Replacement
Before starting the sensor replacement, wash your hands thoroughly with soap and water. It’s highly recommended to maintain clean hands throughout the process to prevent contamination. Once your hands are clean and dry, gather your supplies and sit in a well-lit, comfortable area.
Removing the Old Dexcom G6 Sensor
Now that you’re prepared for the sensor replacement, it’s time to remove the old sensor.
- End the Sensor Session: Before removal, stop the sensor session on your display device (smartphone or receiver) by selecting “Stop Sensor.”
- Remove the Sensor and Transmitter Together:
Peel Off the Adhesive: Gently lift the edge of the adhesive patch and peel it away from your skin, similar to removing a bandage. The sensor and transmitter will come off together.
Detach the Transmitter from the Sensor Holder:
- Break the Sensor Holder: After removing the sensor and transmitter from your body, hold the wide, rounded edge of the sensor holder. Bend it down to break the holder and release the transmitter.
- Remove the Transmitter: Pull the transmitter straight out from the holder. Keep the transmitter for your next sensor, as it is reusable for up to 90 days.
- Dispose of the Used Sensor and Holder: Discard the used sensor and holder according to your local guidelines for disposing of medical waste.
- Clean the Application Site: Gently clean the area where the sensor was applied with fragrance-free soap and water. Ensure the area is dry before attaching a new sensor.
How to Apply Dexcom G6 CGM Sensor
Preparing the New Sensor:
Unpack the Sensor: Remove the new Dexcom G6 sensor from its packaging, ensuring the packaging is intact and the sensor is not expired.
- Select an Insertion Site: Choose a site on your abdomen (for individuals aged 2 years and older) or upper buttocks (for ages 2-17). Avoid areas with scars, moles, tattoos, or irritation, and ensure the site is at least 3 inches away from insulin injection or infusion sites.
- Clean the Site: Wash your hands thoroughly. Clean the selected area with an alcohol wipe and allow it to dry completely to minimize the risk of infection.
Inserting the New Sensor:
- Prepare the Applicator: Carefully peel off the adhesive backing from the sensor applicator, avoiding contact with the adhesive to maintain its stickiness.
- Position the Applicator: Place the applicator firmly against your skin at the cleaned insertion site.
- Insert the Sensor: Fold and break off the safety guard on the applicator’s orange button. Press the button to insert the sensor; you may hear a click indicating successful insertion.
- Remove the Applicator: Gently remove the applicator, leaving the sensor and adhesive patch securely attached to your skin.
Attaching the Transmitter:
- Clean the Transmitter: Wipe the transmitter with an alcohol swab and let it dry completely.
- Attach the Transmitter: Insert the transmitter tab into the slot on the sensor and press down until it clicks into place, ensuring it’s secure.
- Secure the Attachment: Run your finger around the edge of the sensor patch to confirm it’s adhering well to your skin.
Starting the Sensor Warm-up:
- Start the Warm-up: On your receiver or compatible smart device, start the new sensor session. The Dexcom G6 requires a 2-hour warm-up period before it begins displaying glucose readings.
- Wait Patiently: During this time, avoid making diabetes treatment decisions based on the sensor, as it calibrates to provide accurate data.
Verifying Sensor Accuracy:
- Monitor Glucose Readings: After the warm-up, monitor your glucose levels as displayed on your device.
- Assess Accuracy: If the readings don’t align with your expectations or symptoms, consult the Dexcom user guide for calibration instructions or contact Dexcom support for assistance.
How to Start a Dexcom G6 Receiver On
Follow these simple and easy steps to start your receiver so you can get quick and accurate readings through the sensor. These 6 steps ensure your Dexcom G6 receiver and sensor are set up correctly, which is essential for accurate glucose monitoring.
Charge and Power On the Receiver
Charge your G6 receiver using the provided micro-USB cable and adapter. Once charged completely after 2-3 hours, press and hold the power button for about two seconds until the device turns on, then tap “Next” on the welcome screen.
Set Date and Time
Follow the on-screen instructions to correctly configure the date and time on the receiver. With the help of this, you can see your readings at specific date and time.
Configure Glucose Alerts
Set your low- and high-glucose alert levels based on your personal monitoring needs to improve safety and glucose management.
Enter Sensor Code and Transmitter Serial Number
Input the 4-digit sensor code from the applicator to enable calibration-free monitoring, then enter the transmitter serial number (on the back of the receiver) to pair it with the receiver.
Insert the Sensor and Attach the Transmitter
Place the Dexcom G6 sensor on your abdomen or upper buttocks, then snap the transmitter securely into the sensor so it can connect with the receiver.
Start the Sensor and Wait for Warm-Up
Tap “Start Sensor” on the receiver to begin monitoring. The system will run a two-hour warm-up period, after which real-time glucose readings will appear on your screen.
Following the above steps helps prevent setup errors, ensures proper pairing, and allows reliable real-time readings for consistent diabetes management.
Please note that the Dexcom G6 receiver is sold separately and must be purchased individually. You can get it from CGM Monitors, a trusted diabetic supplier in usa with insurance benefits.
How to Replace a Dexcom Sensor through Support?
In case your G6 sensor is not in order, such as it is broken, taking forever to start, or giving way too different readings than you have (this can be checked by comparing it with your blood glucose meter readings). Please note that there can be little differences due to the difference in mechanism of both devices. A BGM monitors your blood glucose directly from the blood, while a continuous glucose monitor measures it from your interstitial blood (just under the skin). These differences are measured in values known as MARD values.
However, if you are having trouble and it seems to you that the sensor is bad, you may simply contact Dexcom support at 1-844-607-8398 (available 24/7), or fill out a form to request a Dexcom G6 sensor replacement online. Please note that the attached form is for people using Dexcom within the USA. If you are from Canada, you can fill out this Product Support Request form.
Disclaimer: This blog is only for informational purposes and the information provided is based upon research. Any medical action requires a doctor’s assistance.
References
- Dexcom – Replacing Sensor Guide
Frequently Asked Questions
What is the Dexcom G6 Continuous Glucose Monitoring (CGM) system?
The Dexcom G6 CGM system is a technology that continuously measures glucose levels using a discreet sensor applied to the skin. It wirelessly sends real-time glucose data to a receiver or compatible smart devices for better diabetes management.
When is Dexcom G6 sensor replacement needed?
The Dexcom G6 sensor needs replacement after ten days of use to ensure accurate glucose readings. If it becomes loose, damaged, or dislodged before the ten-day mark, it may also require replacement.
How do I replace the Dexcom G6 sensor?
To replace the Dexcom G6 sensor, follow these steps:
- Gather necessary supplies: new sensor, alcohol swab, applicator, and receiver/smart device.
- Prepare: Wash hands, sit in a well-lit area, and gather supplies.
- Remove old sensor: Detach transmitter, peel off old sensor, and clean the area.
- Prepare new sensor: Unpack, warm up, and choose new insertion site.
- Insert new sensor: clean site, use applicator to place sensor, and attach transmitter.
- Initiate warm-up: Start on receiver/smart device and wait two hours.
- Verify accuracy: Check glucose levels, compare them with how you feel, and calibrate if needed.
Where can I buy a Dexcom G6 sensor?
You can buy Dexcom G6 sensors, as well as other CGM systems, from CGM Monitors, a reputable supplier offering original devices at competitive rates with monthly refills.
Why is consistent sensor replacement important?
Consistent sensor replacement every ten days is crucial for maintaining accurate glucose readings and effectively managing diabetes. It ensures reliable data for informed decisions and better health outcomes. Always consult your healthcare provider for personalized guidance and support in your diabetes management journey.
How do I replace a Dexcom G6 sensor?
To replace your Dexcom sensor, start by gently peeling off the old sensor patch like a bandage, then carefully remove the transmitter from its holder to reuse it. Next, enter the unique code from the new sensor into your app or receiver, insert the new sensor into a clean, approved site on your body, snap the transmitter back in place, and follow the prompts to start the new session for continuous glucose monitoring. This process ensures reliable tracking of your blood sugar levels without interruption.
What is the Dexcom G6 sensor replacement process?
The replacement process for a Dexcom G6 sensor involves stopping the current session in your app, removing the old sensor and detaching the transmitter, then preparing a new insertion site. Input the new sensor’s code, apply the sensor using the applicator for secure placement, reattach the transmitter, and initiate the warmup period to resume real-time glucose readings. As a diabetic, this straightforward routine helps maintain accurate insights into your glucose trends for better daily management.
What happens if I don't replace my Dexcom G6 sensor on time?
If you delay replacing your Dexcom G6 sensor beyond its intended duration, the device will automatically stop providing glucose readings after the session expires, potentially leaving you without vital alerts for high or low blood sugar events. For diabetic patients, this could increase the risk of unmanaged glucose fluctuations, so it’s essential to switch to a new sensor promptly to avoid gaps in monitoring and ensure safety.
What are the recommended sites for Dexcom G6 sensor placement?
Recommended placement sites for the Dexcom G6 sensor include the abdomen for anyone aged 2 and older, the back of the upper arms for added convenience, or the upper buttocks specifically for children and teens up to 17 years. Diabetic patients should rotate sites to prevent skin irritation, choosing areas away from scars, bones, or insulin injection spots to promote comfort and accurate glucose data collection over the sensor’s lifespan.
Why does my Dexcom G6 sensor need to be replaced?
The Dexcom G6 sensor requires replacement because it is engineered for single-use over a limited period, after which its components may degrade, affecting the precision of glucose measurements essential for diabetes control. For diabetic individuals, regular replacement ensures consistent performance and reliable alerts, helping to avoid complications from inaccurate readings and supporting effective self-management.
When should I replace my Dexcom G6 sensor?
You should replace your Dexcom G6 sensor every 10 days, as this is the maximum approved wear time to maintain optimal functionality and accuracy in tracking blood sugar levels. As a diabetic patient, adhering to this schedule prevents potential data loss or errors, allowing for seamless continuation of monitoring and timely adjustments to your insulin or diet as needed.
When is it safe to restart a Dexcom G6 sensor?
Officially, restarting a Dexcom G6 sensor is not recommended or safe, as it is designed for one-time use up to 10 days, and attempting to extend it could compromise accuracy and lead to unreliable glucose data. For diabetic patients, it’s best to insert a new sensor instead of using the previous one.
Top Selling Products


Featured Products


Write a comment
Your email address will not be published. All fields are required